TL;DR
How to shoot, edit, color grade and loop video material for realtime interaction. The goal is not traditional editing, but creating footage that behaves clearly, smoothly, and efficiently when controlled inside Max. The tutorial covers both filming strategies and post-processing workflows, using Shutter Encoder and DaVinci Resolve.
If you prefer text, below you find a list of the video’s key concepts, with images.
Overview
Not all videos behave the same in interactive systems.
There are two main categories:
- Looping videos → continuously repeat
- Linear videos → navigated interactively (e.g. position → frame)
Each type requires different decisions during shooting and editing.
Key principles:
- Consistent movement pace → intelligible interaction
- Short duration → better performance
- Black background → cleaner look and spatial contextualization for projections
The way you shoot directly impacts how controllable and readable the interaction will be.
Tools
- Shutter Encoder → fast preprocessing and export
- DaVinci Resolve → precise editing and advanced control
- Max → realtime playback and interaction testing
Shooting for Interaction
Looping vs Linear Content
Looping videos:
- Require seamless loopback transitions
- First and last frame should match visually
- Actions should be cyclic or repetitive
Linear videos:
- Represent a clear progression (A → B)
- Used for timeline mapping (e.g. tracking position)
- Require clean start and end states
Pacing
In both cases movement in the video should be consistent and predictable.
This makes it easier to understand how interaction affects playback.
Background & Composition
Black backgrounds are especially useful:
- Better for projection
- Easier subject isolation
- Cleaner compositing
Lighting matters:
- Avoid light spill on background
- Increase contrast between subject and background

Duration & Performance
Shorter videos are preferable:
- Easier to shoot
- Lower real-time processing cost
- Quicker loading times
~1 minute is already long for realtime use (I.M.O.)
Frame Rate & Slow Motion
Higher frame density improves interpolation when scrubbing or slowing down.
The possibilities are:
- Shoot in slow motion → best quality
- Or slow down in post → more flexible
Quick Processing with Shutter Encoder
Shutter Encoder allows fast preparation without full editing software.
Cropping
Remove unnecessary areas:
- Clean video frame
- Reduces resolution
- Improves performance
Always crop as much as possible.
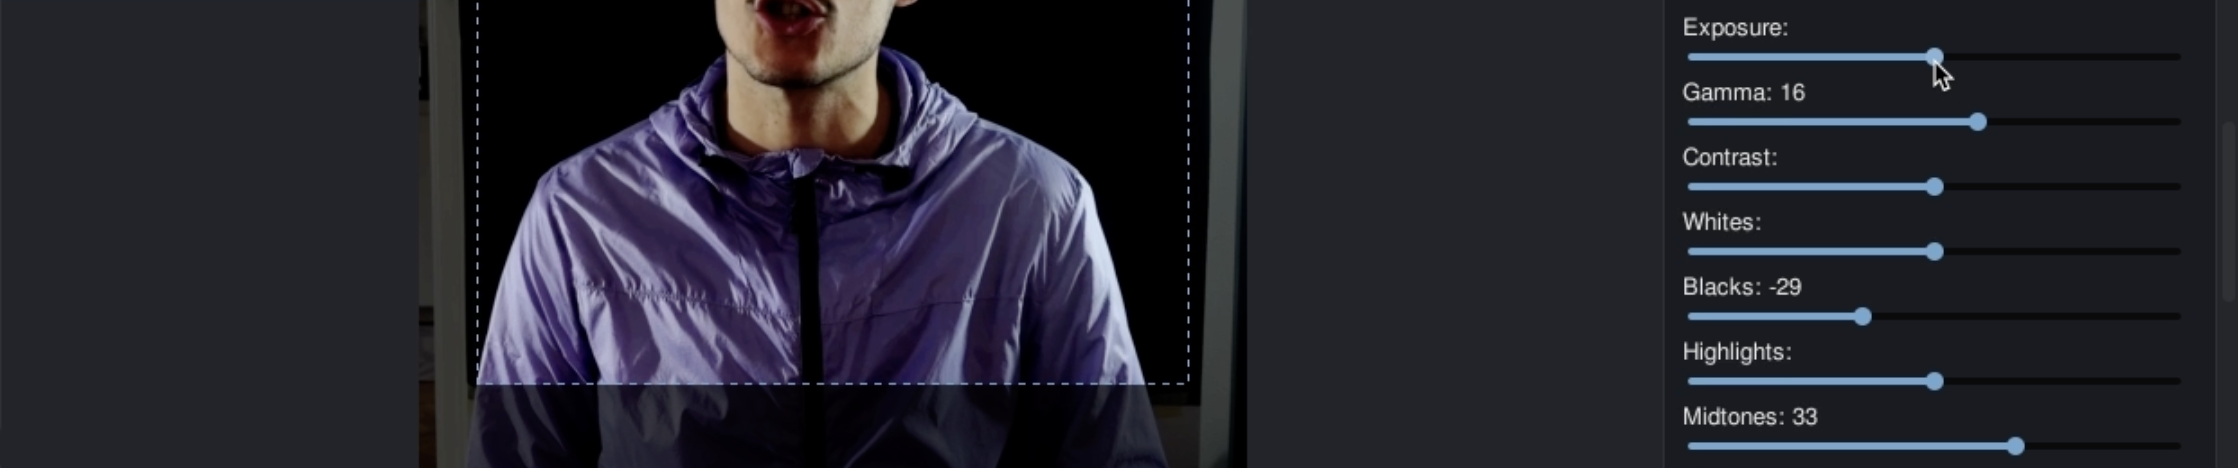
Color Correction
Basic adjustments:
- Gamma → primary control
- Blacks → deepen background
- Midtones → bring subject forward
Goal:
- Clean black background
- Clear subject separation

Loop trim and Export
- Trim start and end by finding visually similar first and last frames
- Export to a realtime-friendly codec (e.g. Hap).
Pixels
Width and Height resolution must be divisible by 4 or the export will fail
Advanced Editing in DaVinci Resolve
For more control, DaVinci Resolve enables precise editing and refinement.
Trimming & Structuring
Select only the useful segment:
- Clean entry (action starts immediately)
- Clean exit (action finishes clearly)
Dead Frames
Remove empty frames at beginning and end
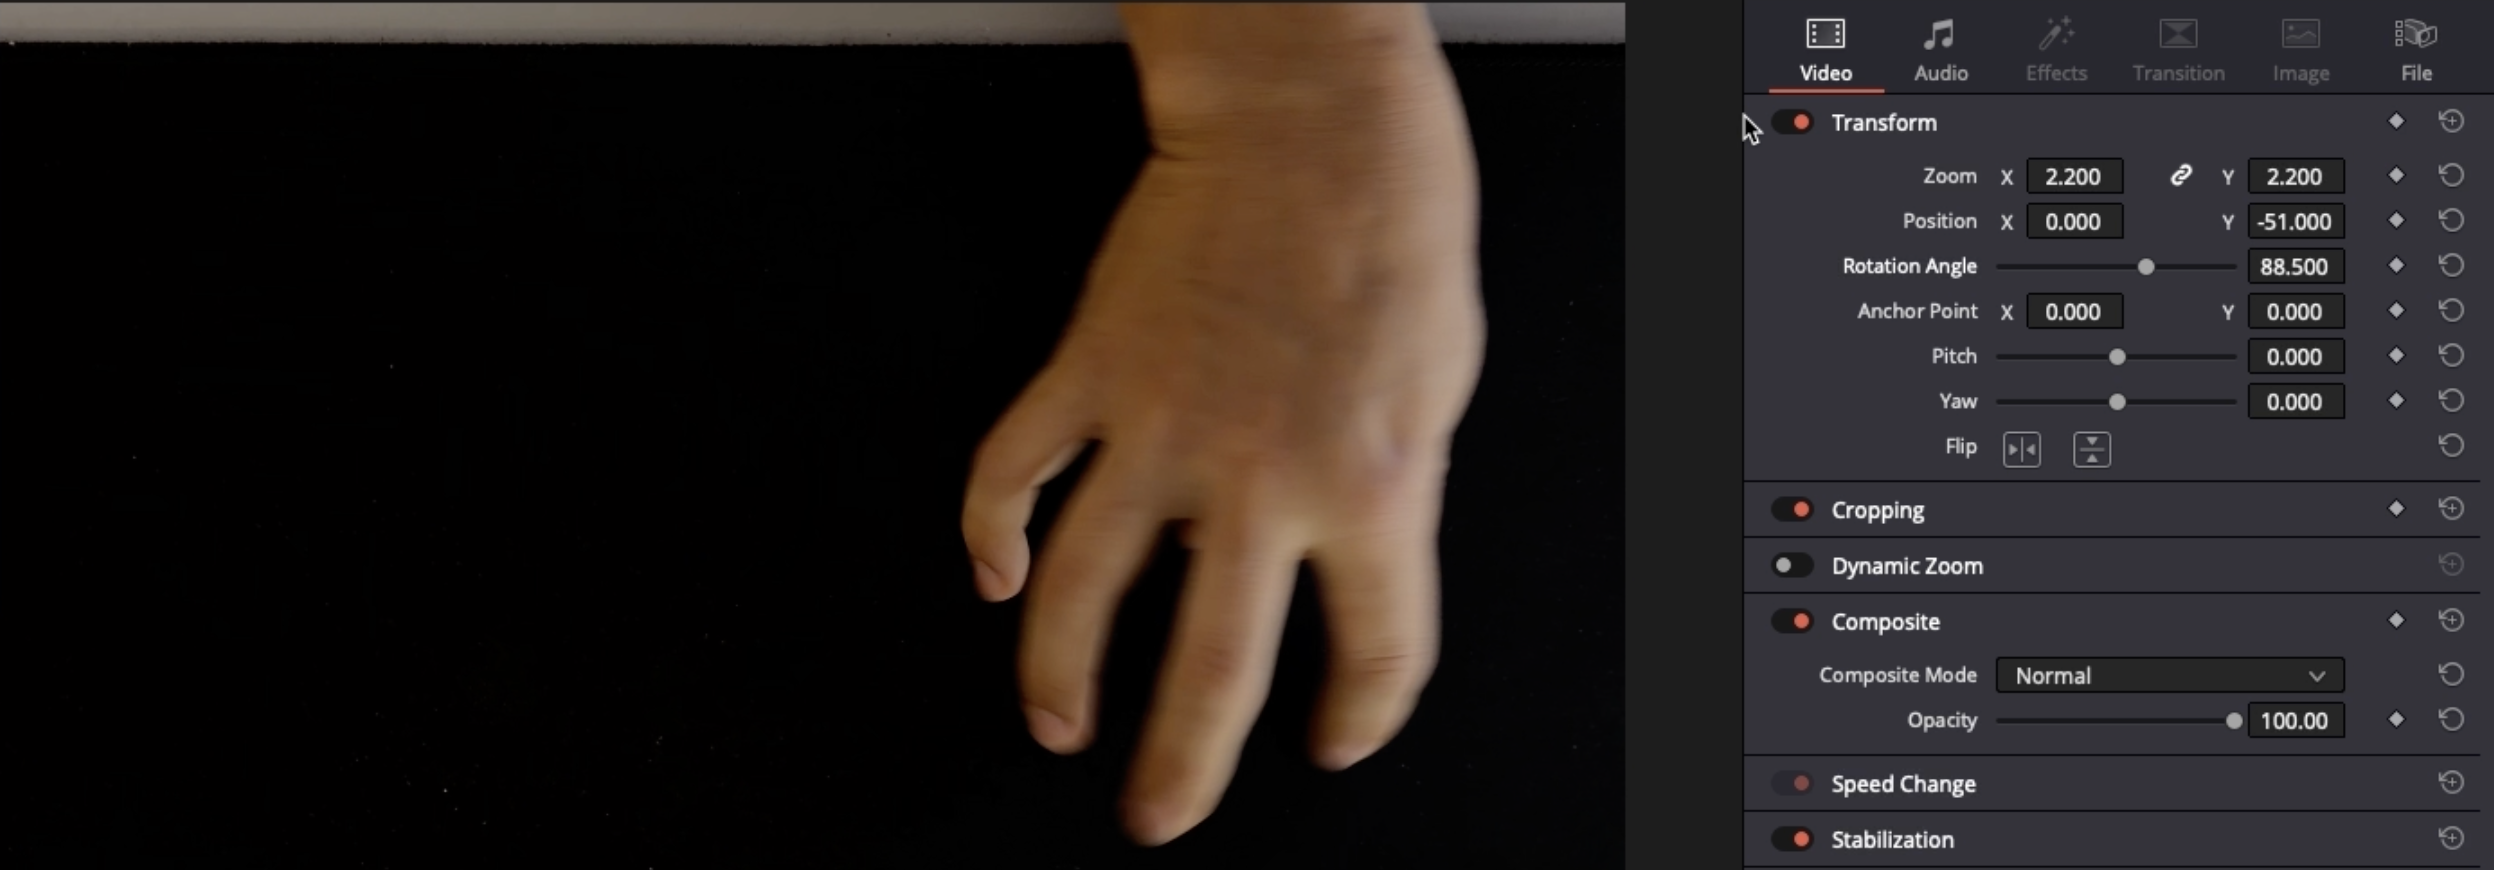
Framing & Cropping
Adjust composition:
- Rotate if needed
- Zoom to remove unwanted areas
- Align subject properly
Color Correction
Use scopes for accuracy:
- Push blacks down with “Lift” → true black
- Adjust “Gamma” & “Gain” → enhance subject
- Control “Saturation” → avoid artifacts
Goal: High contrast, clean background, readable subject.

Time Manipulation
Slow Motion with Optical Flow
If footage wasn’t shot in slow motion, use optical flow to generate intermediate frames.
50% speed will give you a good balance between slow motion and quality.
Sound Pitch
In DaVinci, when slowing video, the audio pitch must be adjusted.
For example:
50% speed → -12 semitones
25% speed → -24 semitonesThis ensures correct pitch when speeding up again in Max.
Looping Techniques
Basic Looping
Trim start and end frames to match visually.
Simple but not always perfect.
Palindrome Loop
Duplicate clip and reverse it: Forward → backward.
Results in perfect continuity as the first and last frame match automatically.
It might not suit all kind of content (e.g. speech or directional actions).
Transition-Based Looping
For more complex cases you can:
- Triplicate your clip
- Add smooth transitions with between 1st and 2nd, 2nd and 3rd copies
In DaVinci you can use the “smooth cut” transition as it visually interpolates between clip frames
Set in/out points at the transitions’ center
- In point between 1st and 2nd clip
- Out point between 2nd and 3rd clip
Export your seamless loop!
Testing in Max
After the export load the video into Max with a ste.pixVideoloop to test looping and playback behavior.
Check the loop smoothness at different Playback speeds
Why This Matters
Interactive video is not just about editing but also about designing behavior.
By making a choice about movement consistency, frame density, loop structure and
visual clarity, you create footage that responds predictably and expressively to interaction.
Key Takeaway
The workflow becomes:
Shoot intentionally → Prepare (crop, color, trim) → Optimize timing → Build loops → Export → Test in Max.
Every decision during shooting and editing directly affects interaction quality.
The stronger your source material, the more expressive your realtime system becomes.
PLOC’ is realized with the support of MA7 (Cultural Department of the City of Vienna)
![]()