TL;DR
In this tutorial, we combine multiple videos inside a single Max patch. We introduce layering, compositing, and more advanced interaction. We use a monitor screen to replace the performer’s head and we control the video with hand movements.
Get the Max patch HERE
If you prefer text, below you find a list of the video’s key concepts, with images.
Overview
The core idea evolves from controlling a single video to building a layered composition:
- A main video (talking head) is controlled by movement
- A second video (loading animation) is added on top
- Both videos are combined in a 3D space
- Each layer can be positioned, scaled, and blended
- Interaction can differ between layers (e.g. inverted behavior)
This turns a simple interaction into a more complex visual system.
What we use
Key Max snippets:
- ste.pixVideoLoop → loads and loops videos
- ste.3dLayer → places videos in a output window
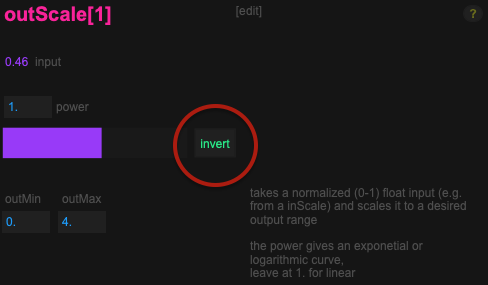
- ste.inOut scale → maps movement values
- ste.pixFxBlur → adds blur visual effects
- ste.scenes → saves patch state
Videos
Preparing the Video Content
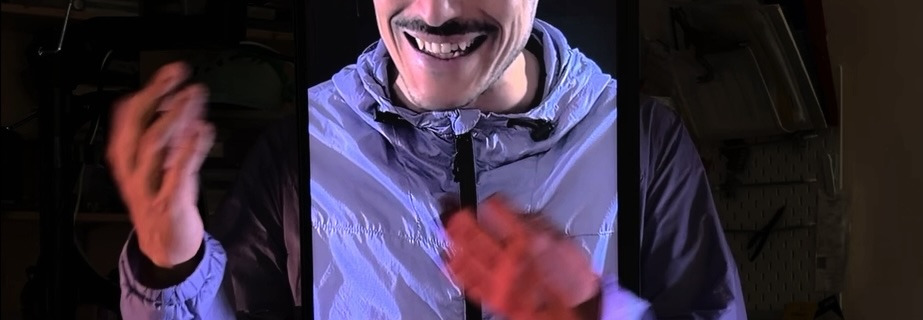
The main video is a looping talking-head clip. To make looping seamless:
- The first and last frames should be visually similar
- The video is slowed down to allow smoother interaction at low speed
- A simple action (reading a recipe) helps maintain continuity
Lighting and setup:
- Black background for clarity
- Side lighting to isolate the subject
- Portrait orientation for vertical screens
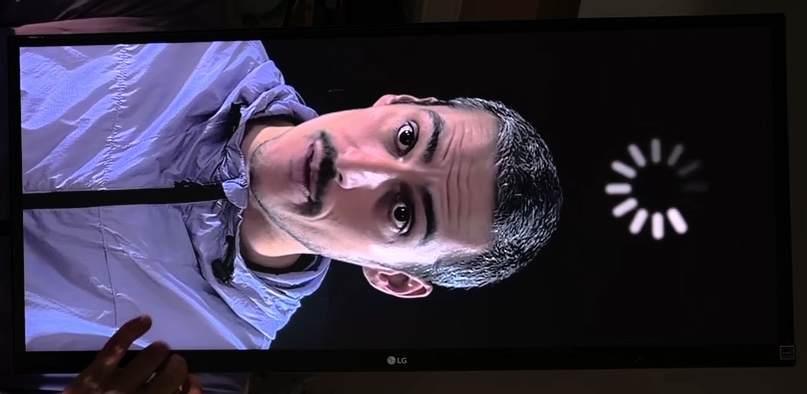
Adding a Second Video
A second video (loading animation) is introduced to enrich the composition.
Why add it?
- Fill unused screen space
- Create visual contrast
- Add a second layer of interaction
This requires moving from a single output to a layered system.
More Patching
ste.3dLayer
Instead of sending video directly to the output, each video is placed inside a ste.3dLayer.
This allows:
- Positioning (X/Y)
- Scaling (size control)
- Layer ordering (front/back)
Each video becomes a movable plane in a shared 3D space.

Layer Order
Since depth positioning (Z) is ignored by default in the ste.3dLayer, layering is controlled manually:
- Higher layer value → appears in front
- Lower layer value → appears behind
This ensures consistent visual stacking.
Blend Modes
Layers can be visually combined using blend modes.
For Example using Add brightens and merges colors between layers.
This creates more integrated and dynamic visuals.
Interaction
Main Video
- Controlled by movement speed
- More movement → faster playback
- No movement → video stops
Second Video (Inverted)
The second video interaction is inverted:
- Movement → slows down
- Stillness → speeds up
This is achieved by duplicating the ste.outScale system and inverting the output values with the “invert” toggle. This contrast creates a more variation in the interaction.
Fine-Tuning Visuals
Speed Scaling
Different videos require different speed ranges: Slow-motion footage needs higher max speed while for normal footage lower values are enough
Always adjust ste.outScale per video.
Blur Effect
Low-quality or compressed videos can appear pixelated.
Using ste.pixFxBlur:
- Softens harsh pixels
- Improves perceived quality
- Adds aesthetic cohesion
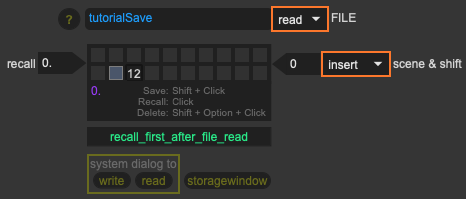
Saving Your Patch State
Using ste.scenes, you can store the state of your patch:
- Loaded videos
- Parameter values
- Interaction settings
This is especially useful if you can’t save the patch itself.
Workflow:
- Store a scene
- Write it to a file (.json)
- Reload it later
Setup Considerations
Camera Calibration
Movement input depends on:
- Camera distance
- Angle
- Lighting
Always recalibrate using inscale for each setup.
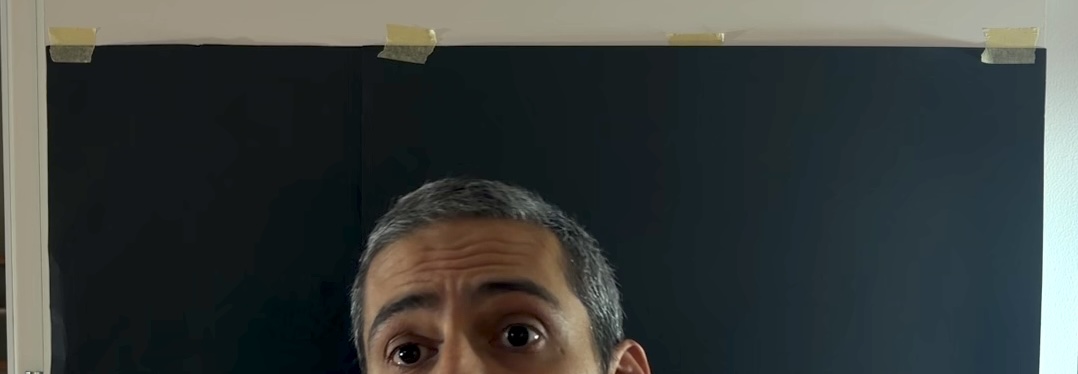
Camera Placement
Avoid pointing the camera at the screen to prevent feedback loops and to ensure clean motion tracking
Key Takeaway
The extended workflow becomes:
Camera → Movement → Normalize → Scale → Control Multiple Layers → Compose → Render
Once you understand this, you can:
- Build multi-layered visual systems
- Create contrasting interactions
- Design more complex real-time visuals
NEXT: 1.3 Control a Video Mapping with Movement (mini project)
PLOC’ is realized with the support of MA7 (Cultural Department of the City of Vienna)
![]()