TL;DR
In this episode, we create a simple interactive projection mapping setup using one video and one projector. Multiple objects are mapped using corner pins as masks, while video and sound are controlled interactively via camera input.
To follow along, get the 1.2 patch HERE:
Get the final Max patch HERE
If you prefer text, below you find a list of the video’s key concepts, with images.
Overview
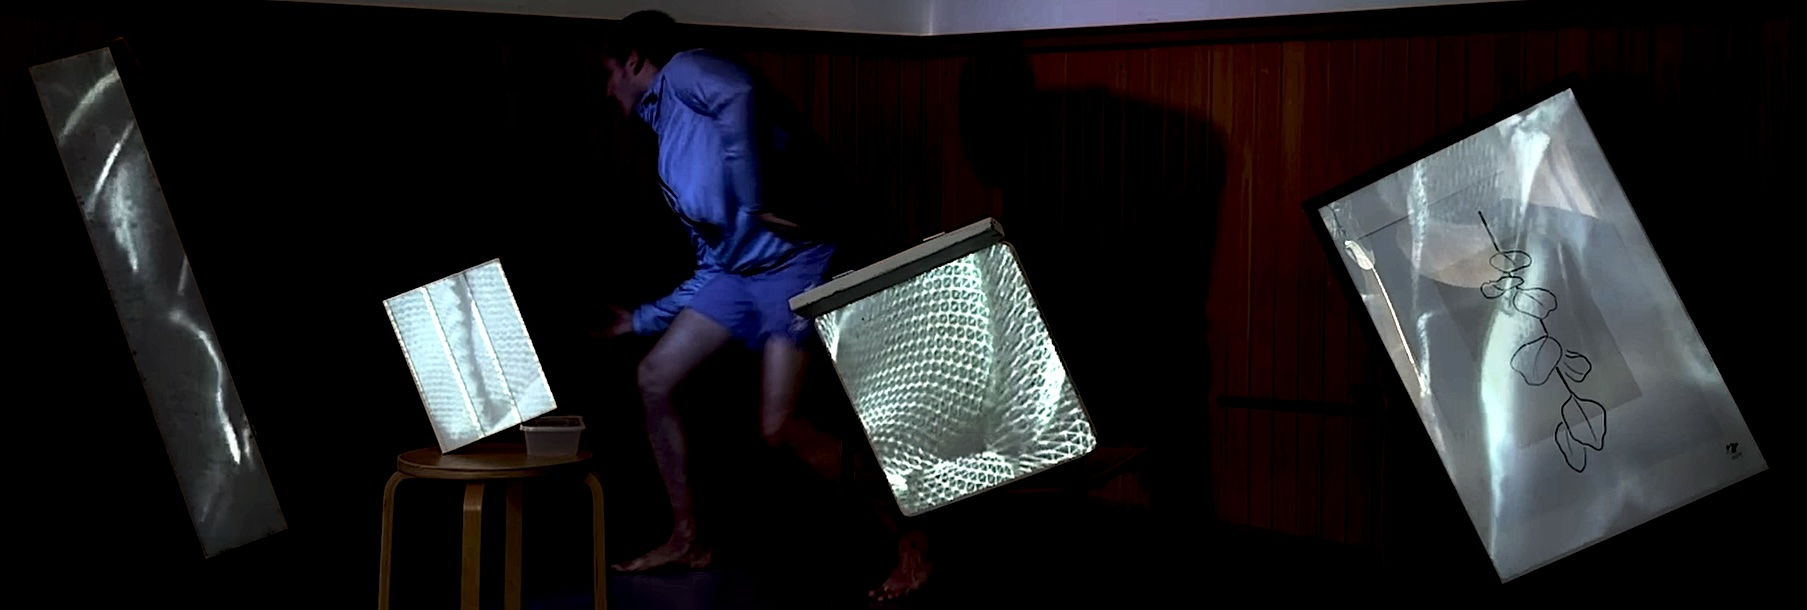
This tutorial introduces a minimal but effective approach to interactive projection mapping. Instead of relying on multiple media sources or complex setups, everything is built around a single video that is selectively revealed in space.
A key aspect here is the spatial arrangement: the projection surfaces are placed between the performer and the audience, which creates a different visual logic compared to standard “background projection” setups.
At the same time, the episode emphasizes aesthetic coherence:
- Visuals: abstract wave patterns
- Sound: watery ambient recording
- Movement: fluid, continuous gestures
All elements reinforce each other, making the interaction feel intentional.
Tools Used
Hardware
- Projector (placed on the ground, no complex rigging required)
- Camera (webcam or mobile device)
- Lights (basic side lighting)
- Speakers (simple stereo setup)
Main snippets
ste.pixVideoLoop→ video playbackste.audioPlayerStereo~→ sound playbackste.pixFXBrightness→ brightness correctionste.3dCornerPin→ projection mappingste.scenes→ saving states

Media Sources
- Video: free VJ loop
- Sound: Freesound.org
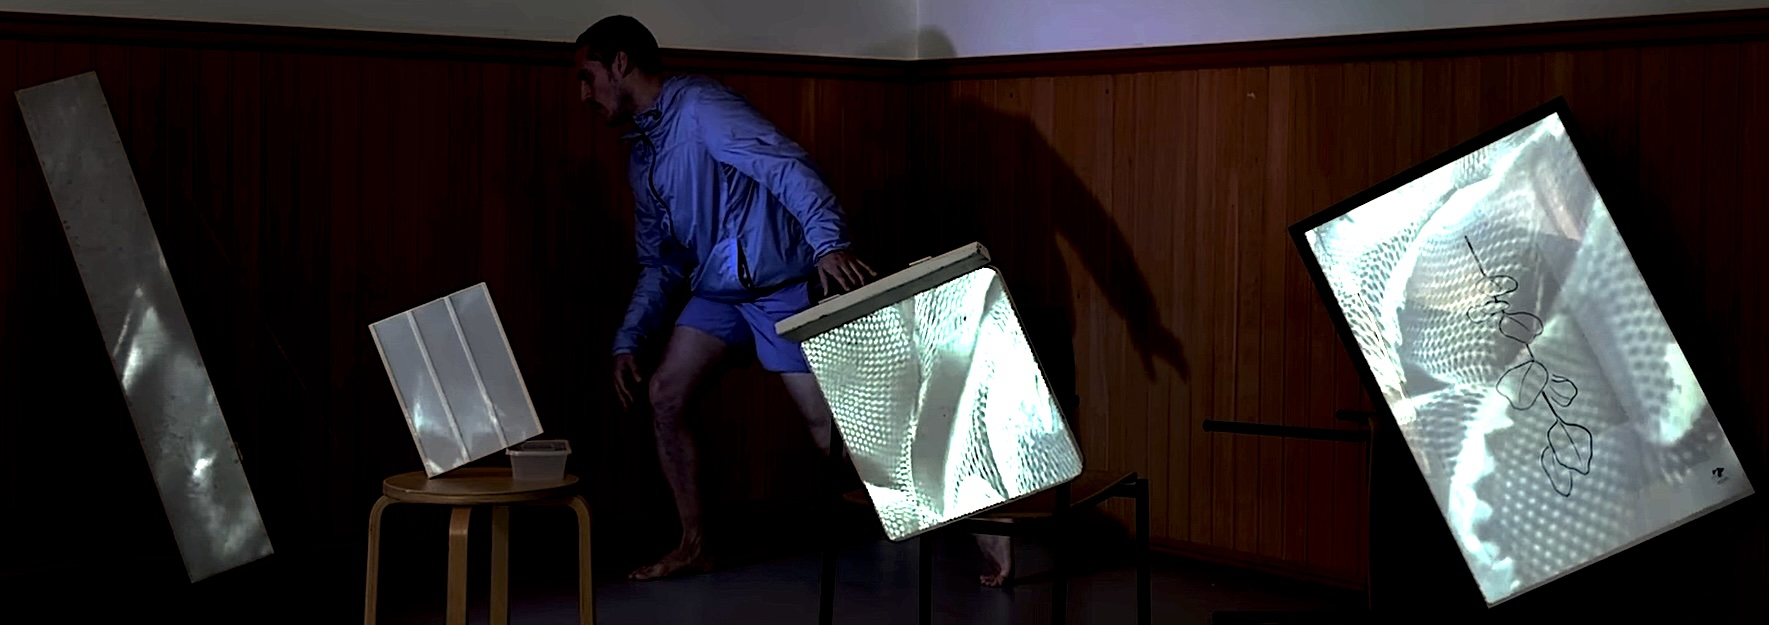
Spatial Setup and Projection Strategy
The physical setup is simple but important to understand.
- Camera:
- Positioned at the back
- Captures the full body of the performer
- Performer:
- Moves in a defined area between objects
- Objects:
- Act as projection surfaces
- Placed in front of the performer
Even though you see multiple “screens,” the system actually uses one projector and one video.
The illusion of multiple projections comes from masking.
Projection Resolution
Fit the projection tightly around the objects to maximize resolution by using the full projector frame and avoid large unused areas in the projection
Lighting Considerations
Lighting must balance visibility of the performer and projection quality, use side lights to avoid the projection surfaces to make the projector light as vivid as possible
From top
Top lighting is of course possible, but usually requires a more advanced setup (e.g. theater rigging).
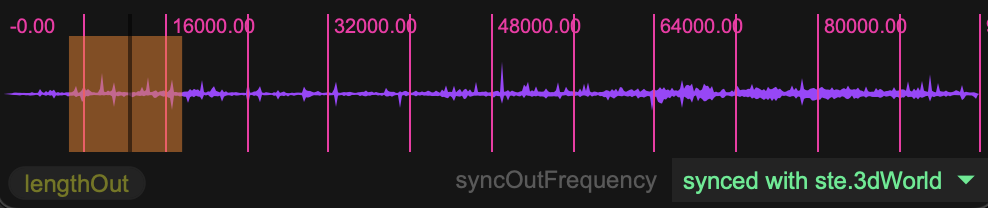
Audio Setup
Sound is part of the overall design, not just background.
- Use a stereo speaker setup facing the audience
- Choose a sound that matches the visual theme
In this specific case we use an ambient recording with water-like textures, we select a stable loop region and avoid abrupt changes or clicks at loop point.
The sound will later be controlled interactively, so consistency is important.
Patch Preparation
We modify the patch from Ploc’ 1.2, save as a new version (1.3) and remove unused components like the second ste.3dLayer
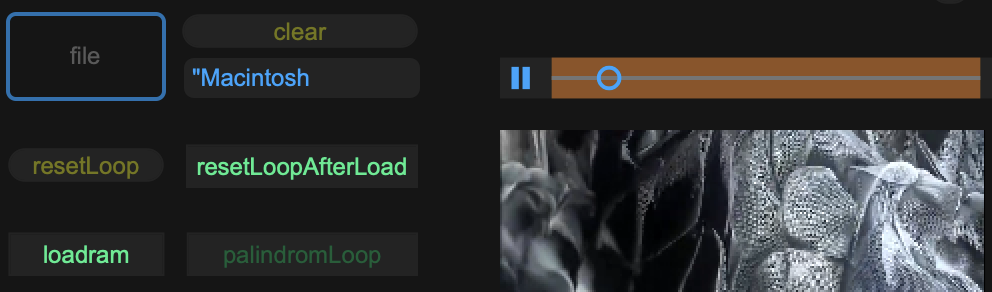
Video and Sound Integration
Video
- Load the free VJ loop in the
ste.pixVideoLoop - The video fills the entire render space via the ste.3dLayer
- At this stage there is no mapping yet
Sound
- Add
ste.audioPlayerStereo~ - Load the selected sound file
- Adjust the loop region for playback continuity
Interaction
- Connect
ste.outScaleto control playback speed - Fix inversion if needed (the previous patch of Ploc’ 1.2 used the ste.outScale in an inverted fashion)
This allows movement to directly influence sound behavior.
Brightness Adjustment
Projection often looks dull in non-dark spaces.
Solution:
- Insert
ste.pixFxBrightnessbetween video and 3dLayer
Guidelines:
- Slight increase (e.g. around 1.5)
- Keep blacks truly black
- Avoid over-brightening
Do not Kill your contrast!
Do not increase projector brightness, always adjust the video signal instead
Projection Mapping with Corner Pin
The core technique in this episode is masking via cornerPin.
Instead of projecting Multiple videos to multiple surfaces, we use one video with multiple masks
- Add
ste.3dCornerPin - Enable handles
- Adjust corners to match one physical object
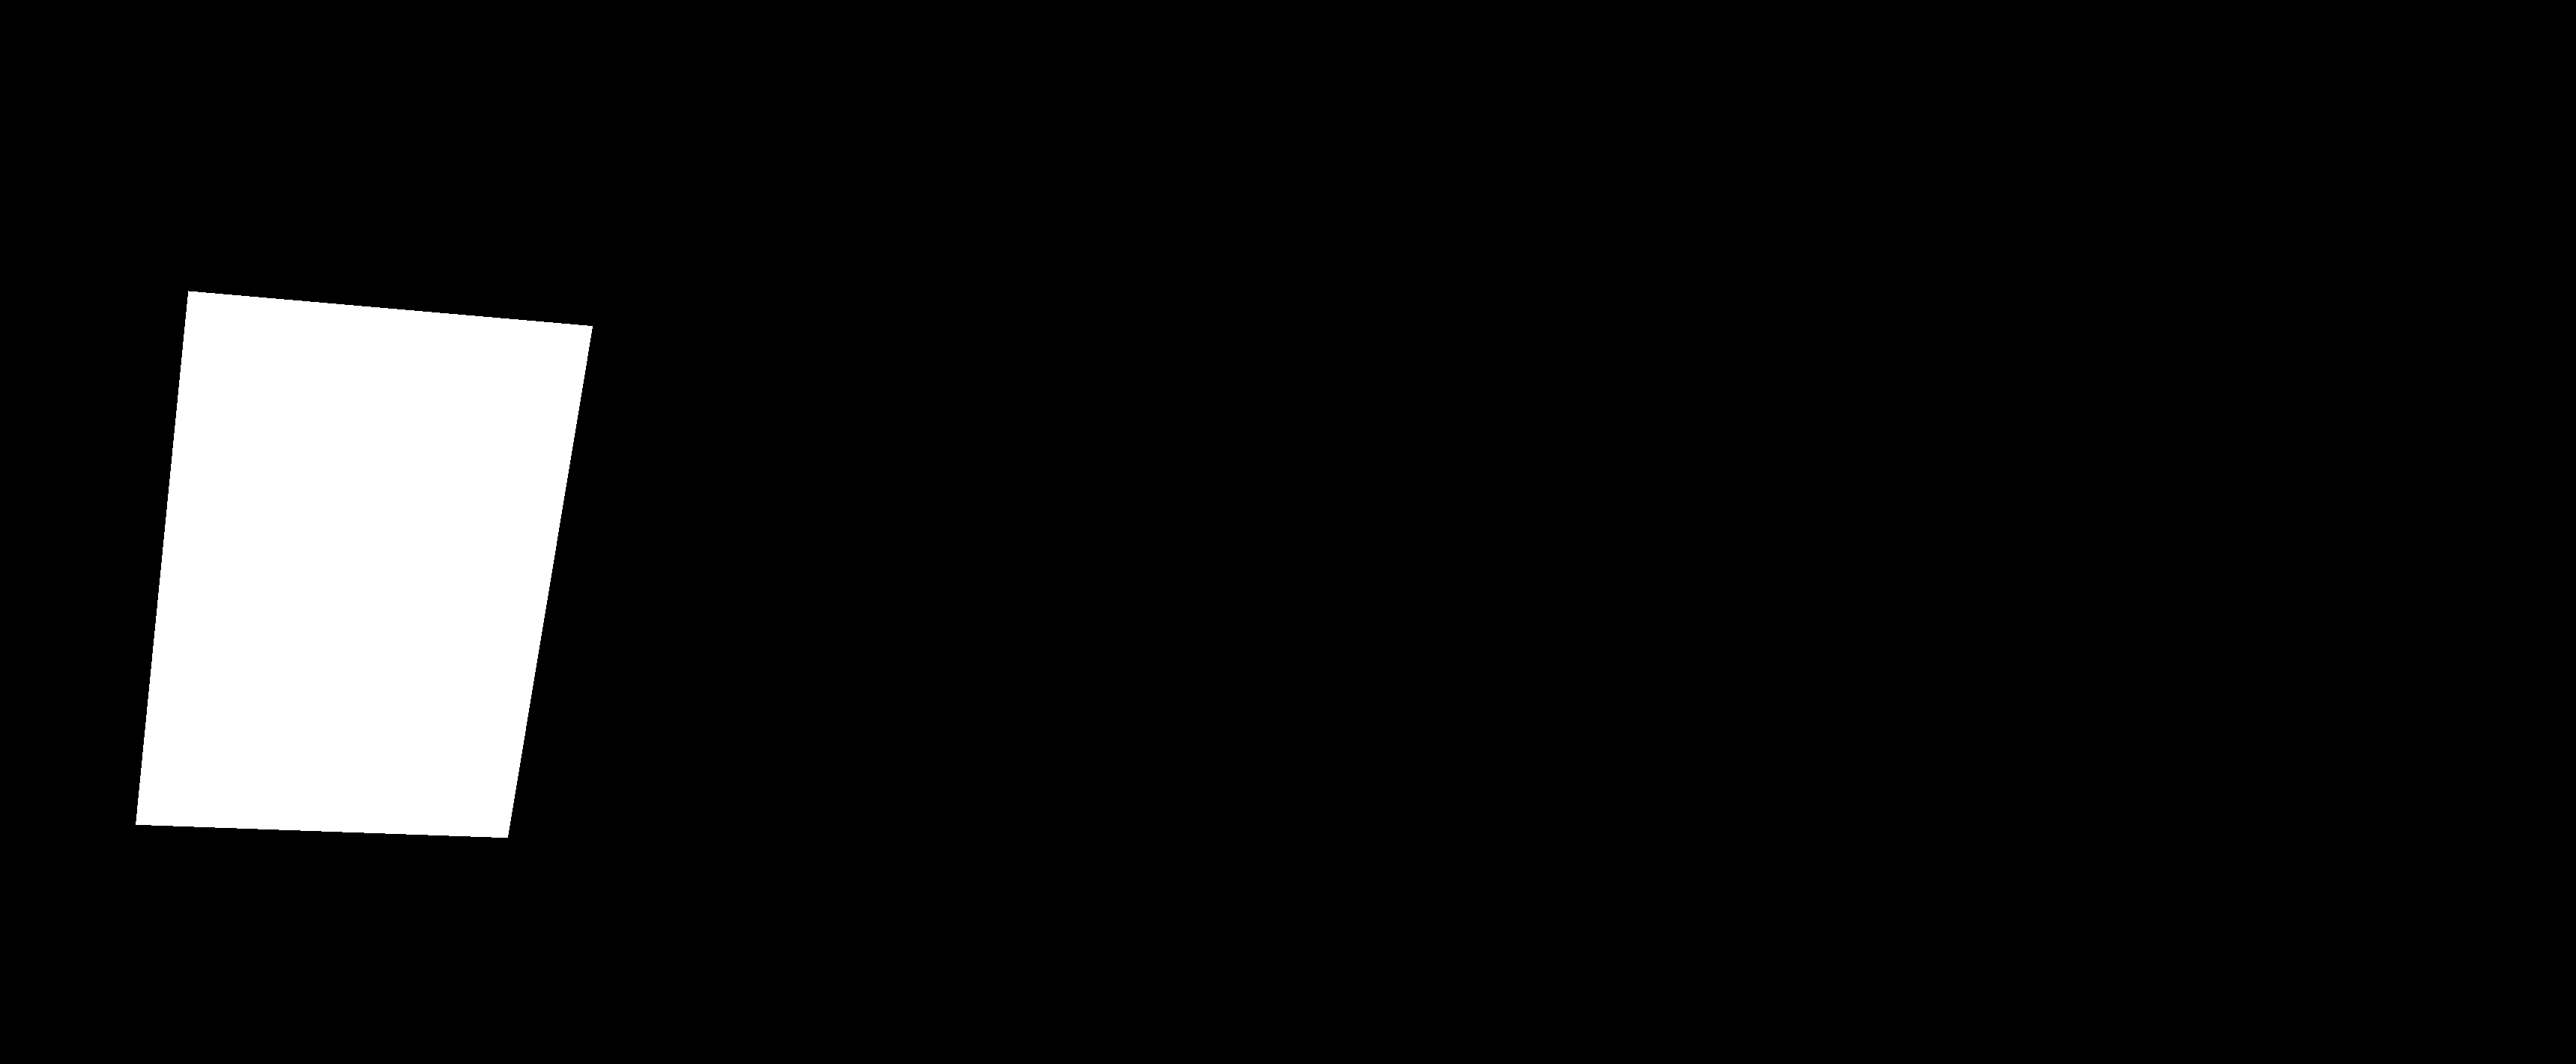
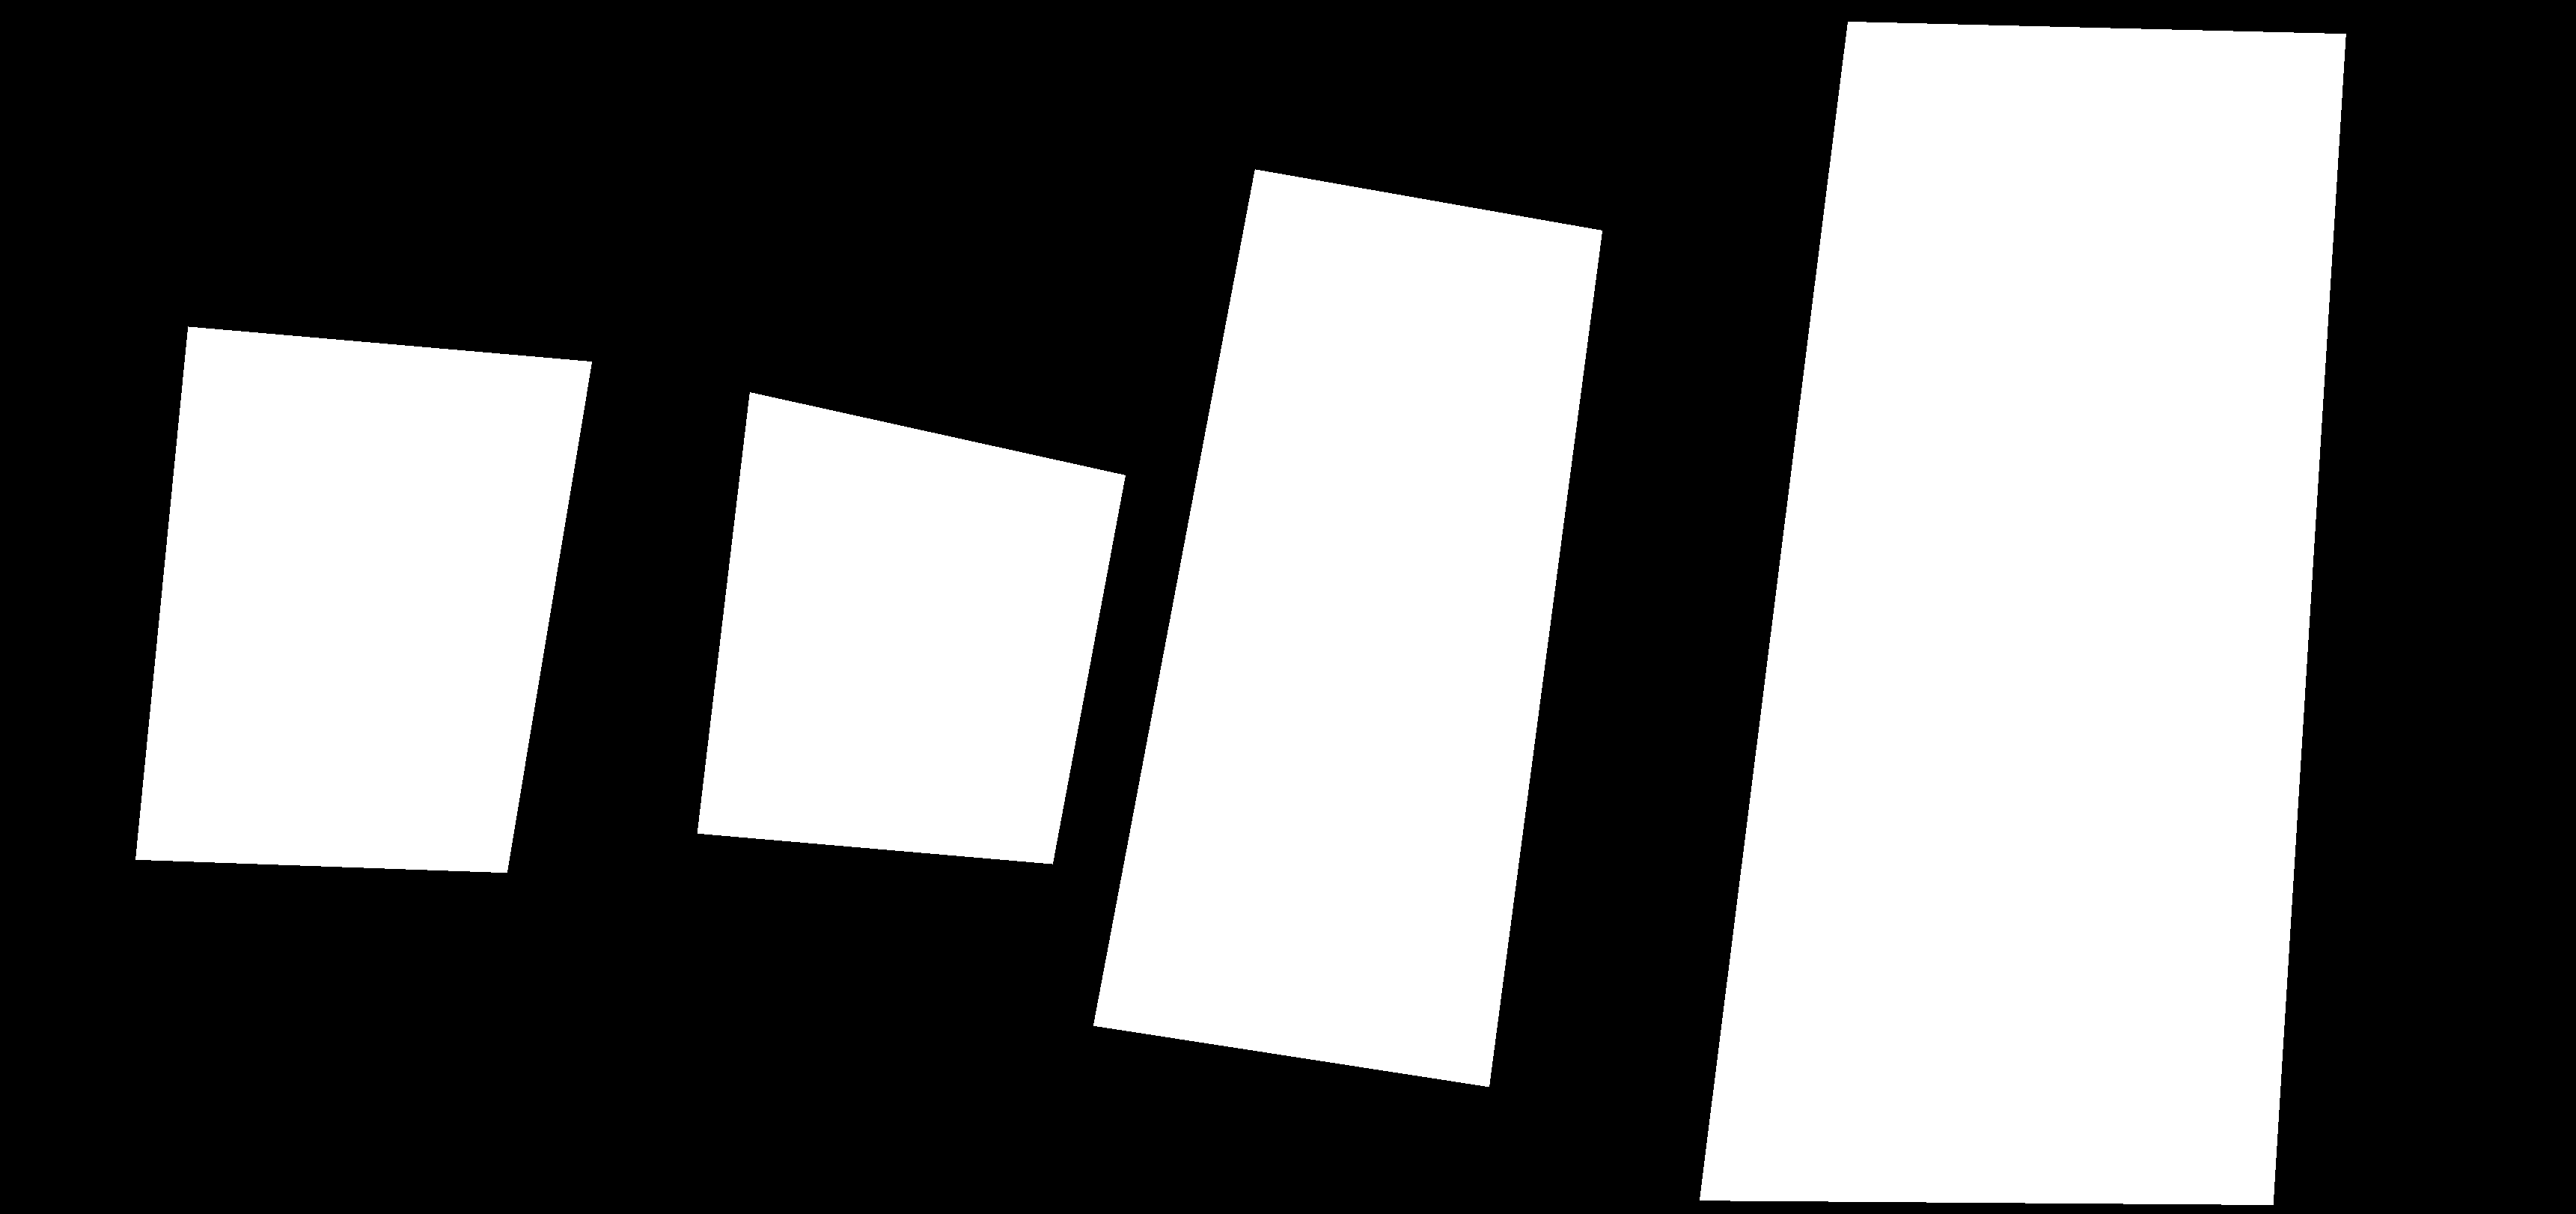
To make alignment easier:
- Disable 3dLayer with the VJ loop temporarily
- Use fill mode (white) in the cornerPin
This creates a clear visual reference.
Creating Multiple Mapped Surfaces
To map more objects:
- Duplicate the corner pin (copy/paste)
- For each instance:
- Enable handles
- Position on a new object
- Disable handles when done
Repeat until all objects are covered.
cornerPin habits
- Only move one corner pin at a time
- Turn off handles after positioning
- Keep track of which instance you are editing
Fine-Tuning the Mapping
For precise alignment use the float values inside the corner pin and adjust values slowly for fine control, this is useful when the cursor is hard to see on the projection and / or you need pixel-level precision. If things break use the reset button in the cornerPin snippet
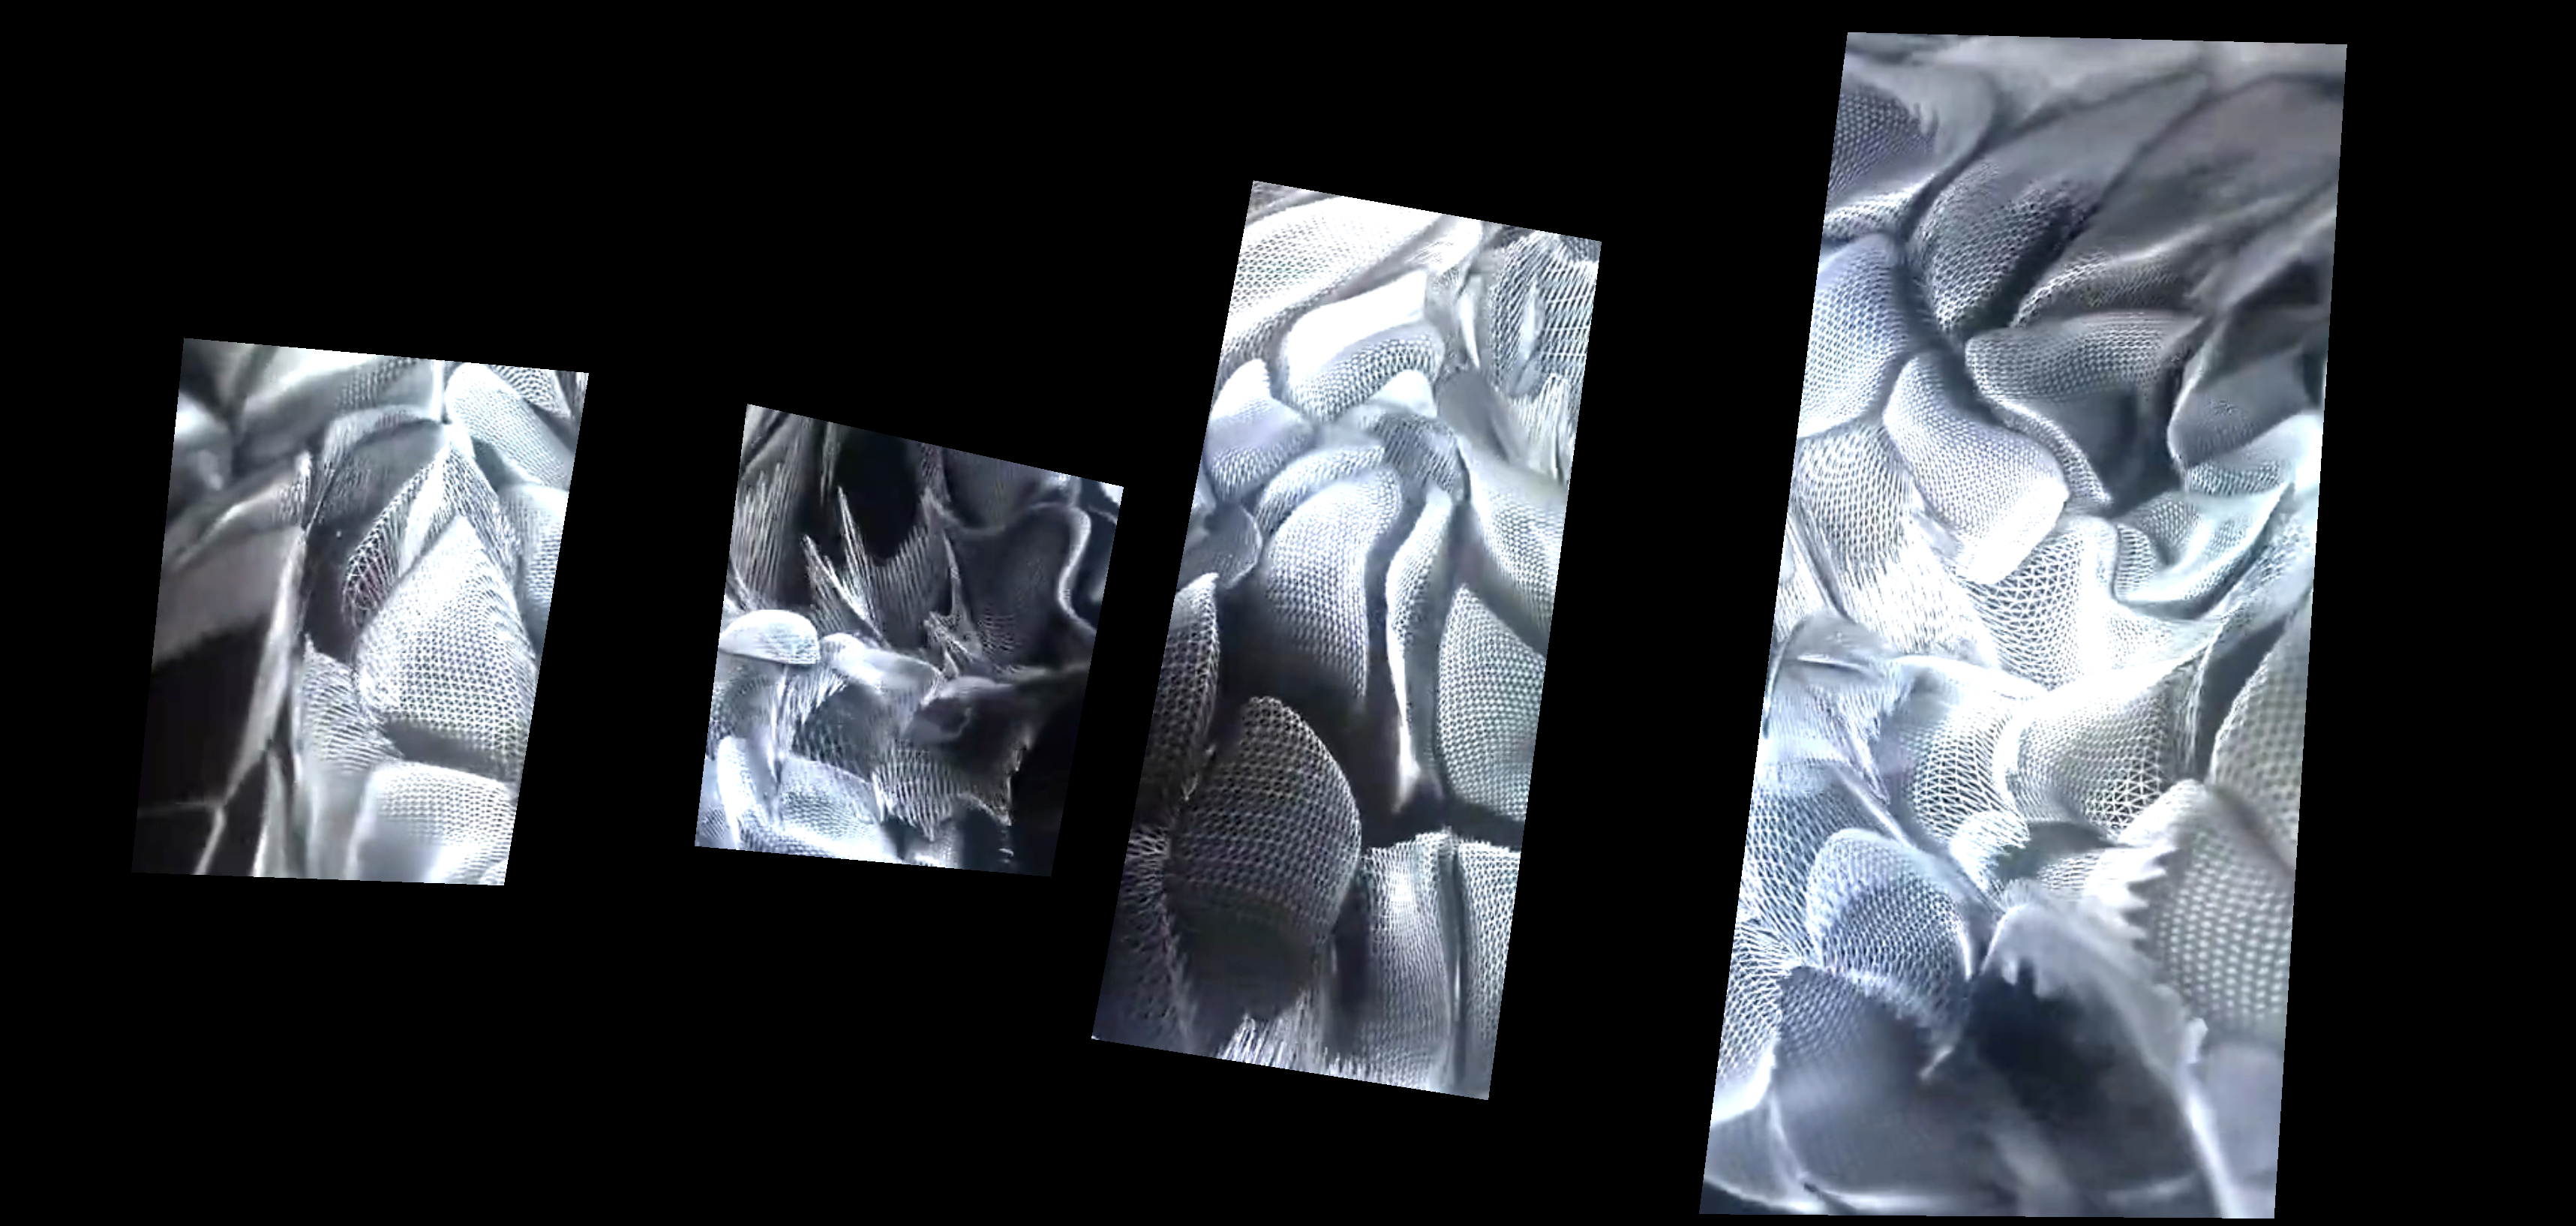
Masking and Blending
Now the mapping becomes visible.
Layer attribute
- 3dLayer → set to higher layer (e.g. 1)
- 3dCornerPins → remain at default (0)
- set 3dLayer blendMode to multiply
Result:
- White areas (cornerPins) → video visible
- Black areas → video hidden
This turns the corner pins into masks.
Camera Input and Calibration
The camera provides the interaction data.
Using a mobile device (Camo app)
- Install app on phone/tablet
- Connect via Wi-Fi
- Use companion app on computer to make it available in the camera device menu
Settings:
- Lower resolution is sufficient
- Higher FPS improves responsiveness
Calibration
- Open
ste.inScale - Use auto mode:
- Capture rest position
- Capture movement range
This ensures smooth interaction mapping.
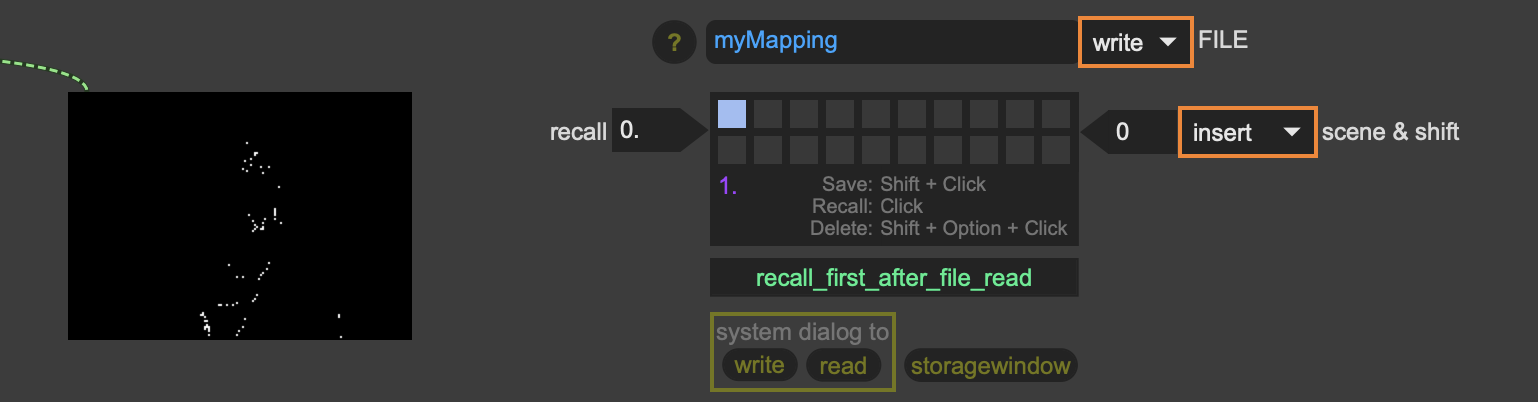
Saving States with ste.scenes
The ste.scenes snippet allows you to store the state of the patch.
It saves all set “values” of your patch e.g.:
- Mapping positions
- Brightness values
- Media files
- Interaction parameters
Workflow
- Shift-click to store a scene
- Name your JSON file
- Write it to disk
Reloading
- Enter filename
- Click “read”
This restores the full setup.
Important:
- Works even without a Max license
- Requires patch structure to remain unchanged
Key Takeaways
-
Projection mapping can be simple:
- One projector
- One video
- Smart masking
-
Spatial setup is as important as the patch itself
-
Aesthetic coherence improves the result significantly
What’s Next
This concludes the last mini-project using this interaction model.
Next steps:
- A new patch
- New interaction strategies
- Further exploration of media and control systems
NEXT: coming soon!
PLOC’ is realized with the support of MA7 (Cultural Department of the City of Vienna)
![]()